
DIY projects don’t have to be huge undertakings! Build It With Baird is a go-to resource for DIY enthusiasts – project tutorials, home improvement how-tos and more!
DIY Fireplace Mantel | Build It With Baird

DIY Fireplace Mantel | Build It With Baird
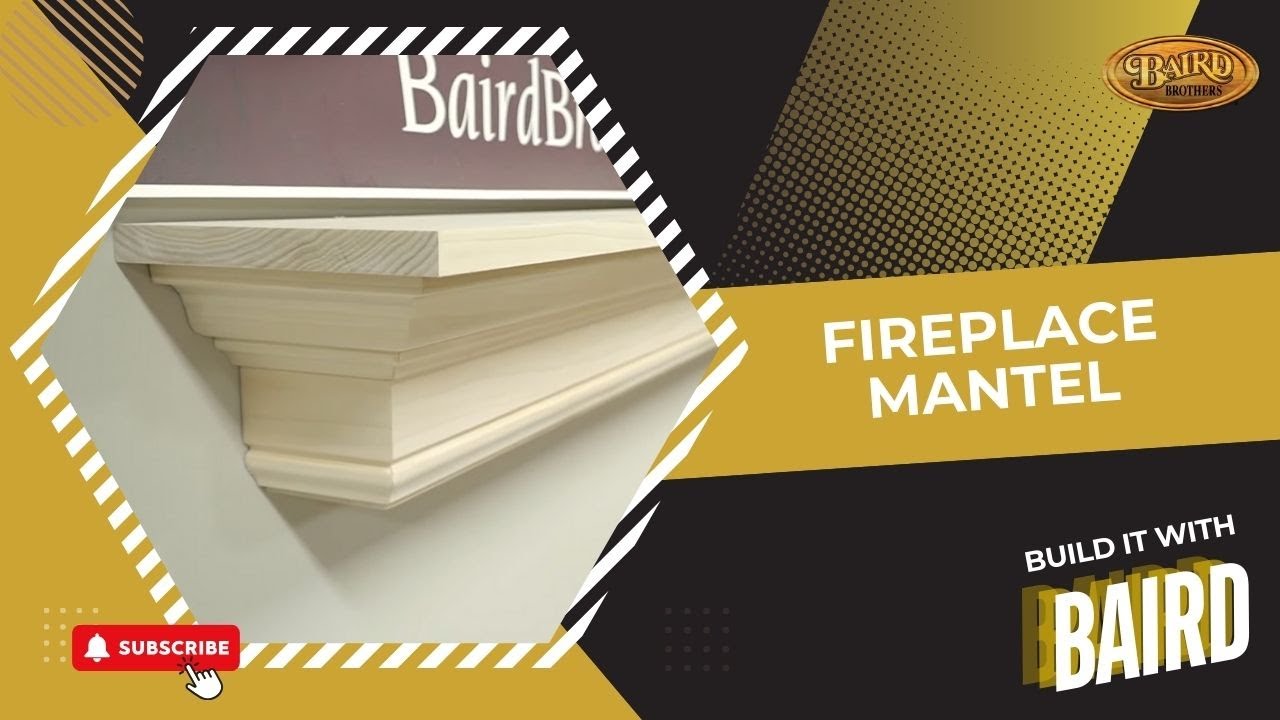
Grab your power tools; we’re making more sawdust in Studio 3B with another episode of Build It With Baird! In this video, Steve Stack demonstrates how to build a fireplace mantel. Go through each step of the process, from picking out the lumber to finding studs for installation.
First things first, here’s everything you’re going to need for your DIY fireplace mantel:
• 7 feet of 1 x 8 lumber
• 7 feet of 1 x 4 lumber
• 8 feet of 2 x 4 lumber
• 9 feet of B303 crown moulding (sometimes spelled “crown molding”)
• 9 feet of B209 baseboard lumber
• Kreg pocket hole jig
• Titebond wood glue
• Orbital hand sander
• 180-grit orbital sandpaper
• Impact driver
• Wood filler (for nail holes)
• Brad nailer or nail gun
• 1 ¼ 18 gauge Brad nails
• 220 grit sandpaper
• Tri-square
• 2” screws
• 3 trim screws
• Measuring tape
• Miter saw or circular saw
There’s nothing better than a beautiful wooden mantel to hang up your Christmas stockings or any other home decor! Building a new mantel is a great DIY project whether you have a brick fireplace, stone fireplace, electric fireplace, gas fireplace or just want a unique focal point for your living room.
Watch the step-by-step tutorial for your easy DIY wood mantel:
00:00 - 00:37 Introduction
00:38 - 1:04 Shopping at the Warehouse
1:05 - 2:38 Project Overview
2:39 - 3:09 Trim Pieces of Wood to Size
3:10 - 5:53 Measuring & Marking the Fireplace Mantel
5:54 - 9:00 Back to the Table Saw and Assembling Top of the Mantel
9:01 - 10:21 Adding Crown Moulding to the Side of the Mantel
10:22 - 11:46 Putting on the Bottom of the Mantel Shelf
11:47 - 12:12 Finishing Touches
12:13 - 13:35 Preparing for Installation and Adding Wood Beam to the Wall
13:36 - 14:34 Sanding
14:35 - 15:16 Installing the Mantel
15:17 - 16:11 Conclusion
Are you in need of a fireplace makeover? This home improvement woodworking project is an easy way to remodel your living room. Show off your carpentry skills by custom building to your home’s specifications and wood stain preference.
Check out the Build It With Baird series for more DIY woodworking project tutorials.
Subscribe to our channel to stay up to date on the latest fine hardwood content.
Browse and buy hardwood flooring, premium interior doors, hardwood mouldings, and more online: www.BairdBrothers.com.
ORDERED easily. DELIVERED conveniently. ENJOYED comfortably.
16 DIY Home Improvement Projects | Build It With Baird
Welcome back to Build It With Baird! In this special edition, we’ve compiled all our best home improvement how-to videos in one! You heard that right; this full video covers 16 different DIY projects for you to follow along with!
Featuring 16 DIY Home Improvement Projects:
How To Install A Fireplace Mantel 00:00 - 2:52
How To Install Shiplap On Interior Walls 2:53 - 13:16
How To Build A Potting Bench 13:17 - 28:25
Tips For Sanding & Finishing Wood 28:26 - 36:17
Custom Wooden Bathroom Vanity For Bathroom Remodel 36:18 – 38:49
How To Install Hardwood Flooring 38:50 - 44:23
How To Install A Prehung Interior Door 44:24 - 51:50
How To Install Paneling 51:51 - 59:53
DIY Kitchen Cabinet Doors & Hardwood Countertop 59:54 - 1:09:18
Mudroom Bench With Built-In Cubbies And Bench Seat 1:09:19 - 1:22:22
Wood Charcuterie Board (For Beginners) 1:22:23 - 1:33:32
Heavy Duty Wooden Step Stool 1:33:33 - 1:41:07
French Cleat Shelf 1:41:08 - 1:55:08
Fishing Rod Holder 1:55:09 -2:09:59
3D Printing for Custom Moulding Profiles & Millwork 2:10:00 - 2:15:37
Sanding & Refinishing Hardwood Floors 2:15:38 - 2:22:16
As a homeowner, there’s nothing like a good makeover to upgrade your home. However, when it comes to home renovation projects, it can be hard to find the best ones when you’re trying to do it yourself. Our YouTube channel is filled with home improvement videos and tutorials for you to follow along with step-by-step instructions — a DIYer's dream!
Searching for home improvement ideas? Improve your living room’s interior design from drywall to a shiplap accent wall. Upgrade your bathroom vanity with high-end wood countertops. Up the functionality of your living space with a mudroom bench. Whatever home decor update you want, you can Build It With Baird.
Check out the Build It With Baird playlist for more DIY woodworking project tutorials.
Subscribe to our YouTube channel and follow us on social media to stay up to date on the latest fine hardwood content.
Browse and buy hardwood flooring, engineered wood flooring, premium interior doors, hardwood mouldings and more online: www.BairdBrothers.com. Trusted by the experts at This Old House.
ORDERED easily. DELIVERED conveniently. ENJOYED comfortably.
DIY Home Improvement: Sanding & Refinishing Hardwood Floors | Build It With Baird
Welcome back to another episode of Build It With Baird! In this episode, Steve Stack ventures out of Studio 3B to the job site with Mike Jones of Mike Jones Hardwood Flooring. Watch as Mike shows Steve the process he goes through when refinishing hardwood floors for a client.
Hardwood floor refinishing is a classic home improvement project — especially for new homeowners. In this BIWB, the client bought the home and wanted to upgrade the entire floor. The wood floors between the two rooms had an uneven divider, the floorboards weren’t flush with the fireplace and removing a partial wall left voids in the solid hardwood floors. In this home, the wood floors experienced some water damage and discoloration. Sanding and recoating the floor with a new finish made them even again – both in level and color.
Mike Jones and his team used a floor sander, applied a floor finish with a paintbrush, added a picture frame moulding around the fireplace and installed new floor pieces in the voids. Using a pry bar, they removed the now unnecessary tongue and groove sections. The new wood stain made every square foot of the room look uniform. Always remember to remove excess stain to avoid uneven coating.
There’s more than one reason to sand your floor as a DIY project. Not only can it remove the old finish, but it can also eliminate deep scratches and gouges without buffing every single one (or using wood filler and a putty knife). Before you start, it’s important to wear safety glasses and a dust mask/respirator to protect yourself. You can use an orbital sander, floor buffer or fine grit sandpaper. After you sand the floor, you can apply a top coat of polyurethane finish as a sealer to protect the wood. Depending on your floor, you can use either an oil-based polyurethane or water-based polyurethane.
Watch the process step-by-step:
Intro 00:00 - 00:39
Breaking Down the Project 00:40 - 1:13
Divider Repair 1:14 - 1:47
Filling Voids From Wall Removal 1:48 - 2:53
Picture Frame Moulding for the Fireplace 2:54 - 3:44
Removing Tongue & Groove Flooring 3:45 - 4:26
Sanding 4:27 - 4:49
Staining/Finishing 4:50 - 5:17
Review 5:18 - 6:11
Outro 6:12 - 6:39
Check out the Build It With Baird series for more DIY woodworking project tutorials.
Subscribe to our channel to stay up to date on the latest fine hardwood content.
Browse and buy hardwood flooring, engineered wood flooring, premium interior doors, hardwood mouldings and more online: www.BairdBrothers.com.
ORDERED easily. DELIVERED conveniently. ENJOYED comfortably.
3D Printing for Custom Moulding Profiles & Custom Millwork Products | Build It With Baird
Have you been looking for the perfect crown moulding but can’t find it anywhere? The search is over!
In this episode of Build It With Baird, Steve Stack is joined by Benny Baird, Finish Shop Manager, to walk through Baird Brothers’ custom moulding process. Architects, interior designers and homeowners alike can benefit from Baird’s custom moulding profile samples.
If you can’t find what you want in our in-stock mouldings, our experts can 3D print a sample to scale. This way, you can see exactly what the chair rail, baseboards, or any other wood moulding looks like in the home.
Simply stop by our showroom with your drawing, and our team will mock up a drawing and 3D print the sample. After you’re satisfied with the design, the drawing gets sent to the router. Choose your species of wood: poplar, red oak, cherry, walnut, and more! Then, lumber heads to our state-of-the-art custom millwork shop. Some finishing touches, and it’s off to the final stop: your home!
The possibilities for custom millwork products are endless! Design custom chair rails, hand rails, stair parts, baseboards, crown mouldings, and whatever you want. You’ll be impressed with Baird’s craftsmanship no matter what you special order.
Head to bairdbrothers.com to view our moulding catalog of thousands of designs, or start designing your special order building materials!
Check out the Build It With Baird series for more DIY woodworking project tutorials.
Subscribe to our channel to stay up to date on the latest fine hardwood content.
Browse and buy custom wood products and MDF, including hardwood flooring, premium interior doors, hardwood mouldings, and more online: www.BairdBrothers.com.
ORDERED easily. DELIVERED conveniently. ENJOYED comfortably.
DIY Fishing Rod Holder Video Tutorial | Build It With Baird
Get ready to make some sawdust with another episode of Build It With Baird! In this video, Steve Stack is joined by McKenzie Cross, president of Baird’s marketing partner, iSynergy, to walk you through the steps of building a DIY fishing rod rack.
Looking for a fishing rod storage rack that isn’t an eye sore? A DIY fishing rod holder made out of natural wood is the perfect addition to your storage area. The best fishing rod stand is one that you can design yourself to fit your needs and space exactly!
Let’s take a look at what you’ll need to get started with building your own DIY fishing pole holder.
Tools Needed:
Table Saw of Circular Saw
Drill or Screw Guns
Palm Sander
1” Forstner Bit
1 ⅜” Forstner Bit
Kreg 720 Pocket Hole Jig
Clamps
Try Square
Straight Edge
Miter Saw
Materials:
8’ - 1x12 Red Oak S4S Lumber
4’ - 1x6 Red Oak S4S Lumber
1 ¼” 32mm Kreg Pocket Hole Screws
Wax
Titebond Original Wood Glue
⅜” Wood Button Plugs
Looking for your next DIY project? This fishing pole rack is a great introduction to carpentry where even younger members of the family can get involved! Organize your fishing gear while showing off your carpentry skills at the same time.
Building your own project is always better than anything you can find on Amazon. Plus, most of them use unappealing materials like PVC pipe or take up all your garage shelving. Use natural hardwood to build your own fishing reel and pole storage and mix aesthetics with functionality.
Intro 00:00 - 00:57
Tools & Materials Needed 00:58 - 01:10
Getting Started 01:11 - 01:50
Cutting Lumber to Size 01:51 - 02:37
Measuring Layout & Hole Locations 02:38 - 05:08
Drilling Holes 05:09 - 06:53
Trimming the Side Panels 06:54 - 07:45
Preparing for Assembly & Sanding 07:46 - 09:43
Assembly 09:44 - 13:11
Sanding to Finish 13:12 - 13:35
Final Product 13:36 - 14:05
Outro 14:06 - 14:51
Check out the Build It With Baird series for more DIY woodworking project tutorials.
Subscribe to our channel to stay up to date on the latest fine hardwood content.
Browse and buy hardwood flooring, premium interior doors, hardwood mouldings, and more online: www.BairdBrothers.com.
ORDERED easily. DELIVERED conveniently. ENJOYED comfortably.
DIY Project: French Cleat Shelf | Build It With Baird
Welcome back to Studio 3B for another episode of Build It With Baird! In this video, Steve Stack takes you through the steps of building a french cleat shelf.
Are you having trouble finding your workbench under your collection of power tools? A french cleat storage system uses floating shelves to organize your tool collection for everything from light drill bits to heavy items like clamps. If thinking of tool storage ideas, look no further.
A french cleat consists of wood pieces with one edge bevel cut at a 45-degree angle. Using fasteners, wood pieces are secured to the wall with the beveled edge facing up. From there, you can make any type of organization tool and use a small cleat (with the beveled edge facing down) as a backer to connect to the french cleat wall.
Before you get started, here’s what you’ll need:
Tape Measure
Speed Square
Framing Square
Level
Sandpaper
Clamps
Brad Nailer
18 Gauge 1-¼” Brad Nails
18 Guage 1-½” Brad Nails
Drill
Kreg 1-¼” Screws
Kreg Pocket-Hole Jig 720PRO
Miter Saw
Table Saw
Compact Router
Wood Glue
Don’t just buy any french cleat system like the ones you can find on Amazon. Use your next home improvement DIY project to show off your woodworking skills and build a french cleat wall from a simple piece of plywood.
Intro 00:00 - 00:26
Shopping for the Wood 00:27 - 00:52
Measuring the Wall 00:53 - 1:41
Tools Needed 1:42 - 1:50
Planning and Preparing 1:51 - 2:22
Drawing a Layout on the Sheet of Plywood Using Spacers 2:23 - 5:56
Picture Frame Moulding & Beveled Edges 5:57 - 6:40
Final Touches Before Fastening Cleats 6:41 - 7:41
Using Wood Glue and Wood Screws as Fasteners 7:42 - 9:15
Reinforcing From the Back of the Shelf 9:16 - 10:16
Measuring for Nail Placement 10:17 - 10:48
Nailing the French Cleat System to the Wall Studs 10:49 - 11:23
Building Utility Boxes and Cordless Tool Hangers 11:24 - 13:18
Outro 13:19 - 14:00
Check out the Build It With Baird series for more DIY woodworking project tutorials.
Subscribe to our channel to stay up to date on the latest fine hardwood content.
Browse and buy hardwood flooring, premium interior doors, hardwood mouldings, and more online: www.BairdBrothers.com.
ORDERED easily. DELIVERED conveniently. ENJOYED comfortably.
Building A High-Quality, Heavy-Duty Wooden Stool | Build It With Baird
Welcome back to Studio 3B for another episode of Build It With Baird! In this video tutorial, Steve Stack shows you how to make a DIY wooden step stool with the help of craftsman Sam Phillips. Sure, you can take the easy route and just go buy a foldable plastic step stool from Ikea or Amazon — or you can make your own wood step stool. Building your own piece of furniture puts the home decor power in your hands. Paint or stain it however you like. Add hinges to make it a folding step stool. Single-step or two-step stool? It’s up to you. Sometimes all you need is a small step to reach that high shelf. No more standing on the kitchen counter! Constructing your own wooden stool allows you to measure and build to the exact measurements you need.
In this episode, Steve and Sam build a single-step stool with a carrying handle that can also act as a safety rail. Adjustments can easily be made to build a 2 step stool.
In need of a kid step stool or toddler step stool? Place non-slip pads at the bottom to make it slip-resistant. Anti-slip protection is important for those of any age, especially children.
Plastic step stools can be flimsy with a limited load capacity. A solid wood step stool is high-quality, heavy-duty, multi-purpose, and easy to assemble. Step up to your top shelf in style with a solid wood footstool.
There’s no limit to its functionality! Use your wooden step stool as a kitchen stool, a bed step stool for high beds, a step ladder, a way for kids to reach the bathroom sink, or a piece of furniture in the living room. A wooden stool looks beautiful sitting next to a wood bed!
Intro 00:00 - 00:31
Tools Needed 00:32 - 00:35
Shopping For Wood 00:36 - 1:41
Choosing A Wood Species 1:42 - 2:25
Preparing The Wood 2:26 - 3:18
Drilling Holes 3:19 - 4:09
Sanding Edges 4:10 - 5:37
Putting It All Together 5:38 - 6:49
Outro 6:50 - 7:34
Subscribe to our channel to stay up to date on the latest fine hardwood content.
Browse and buy hardwood flooring, premium interior doors, hardwood mouldings, and more online: www.BairdBrothers.com
ORDERED easily. DELIVERED conveniently. ENJOYED comfortably.
Step-By-Step DIY Woodworking Project: Wood Charcuterie Board | Build It With Baird
Welcome back to Studio 3B for another episode of Build It With Baird! In this video tutorial, Steve Stack and Oak Hill Millworks’ Christy Miller show how to make a beautiful meat and cheese board from fine hardwood. Don’t use just any serving tray for your appetizers! A wood charcuterie board provides a rustic look you can only get from real wood.
If you’re new to woodworking, this is an easy DIY project. This day project only uses a single piece of wood but practices many basic techniques and power tools, including a palm sander, grit sandpaper, routers, miter saw and a table saw. Use butcher block oil (also referred to as conditioner) or cutting board oil to make it food safe — and to enhance the natural pigment.
Steve and Christy use stair parts from Baird Brothers Fine Hardwood to make beautiful serving boards. Watch for a step-by-step guide on how to turn your scrap wood into a DIY charcuterie board! Full disclosure, once you make one, you’ll want to make one for everyone you know!
Intro 00:00 - 1:14
Trimming The Width Using The Table Saw 1:15 - 2:00
Cutting Down To Size With The Miter Saw 2:01 - 3:53
Cleaning Up With The Orbital Sander 3:54 - 5:38
Finishing The Edges With The Router 5:39 - 7:11
Custom Engraving At Oak Hill Millworks 7:12 - 7:43
Finishing Touches With Mineral Oil 7:44 - 10:23
Outro 10:24 - 11:10
As with any wood project, wear safety glasses wherever working in a woodshop to protect yourself from flying sawdust.
Subscribe to our channel to stay up to date on the latest fine hardwood content.
Browse and buy hardwood flooring, premium interior doors, hardwood mouldings, and more online: www.BairdBrothers.com
ORDERED easily. DELIVERED conveniently. ENJOYED comfortably.